Craft Time {Paper Lemonade}

First, thank you so much for all the emails and messages and comments yesterday.  You guys are super encouraging and I completely appreciate it.  It’s always a bit nerve racking throwing your little insecure truths out there for anyone to read, but it’s just where my heart & head are right now.  So thank you for being so kind.  Now for some craftyness.

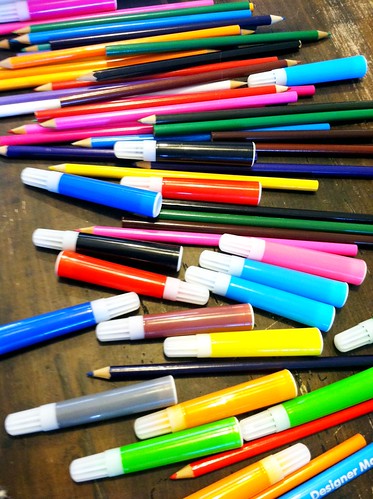
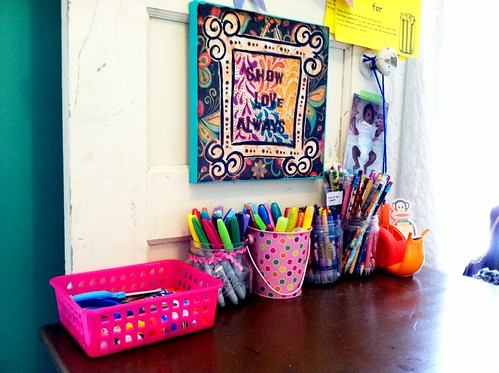
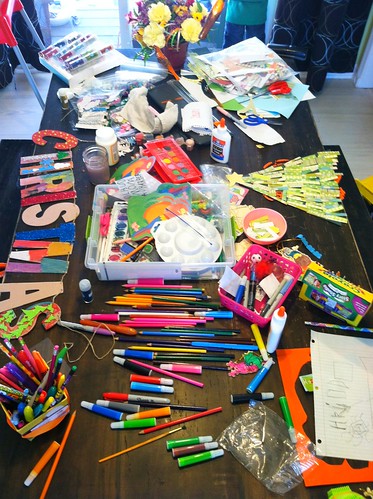
I think my all time favorite craft supply is paper.  Paper has endless possibilities especially when you pair it with glue and scissors.

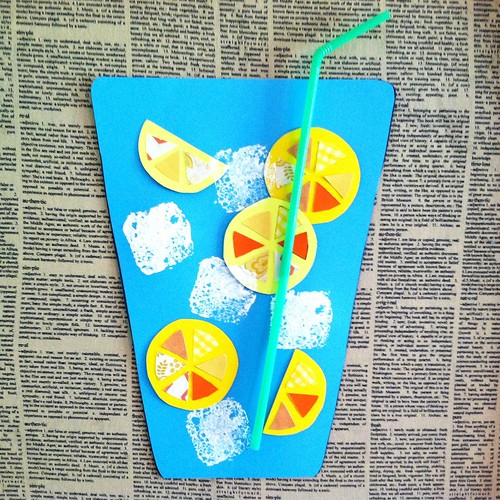
The other day Harper asked if we could make real lemonade.  Unfortunately I never ever ever have an entire bag of lemons on hand…I don’t even keep one lemon on hand for that matter.  She was okay with my, “Harp we don’t have any lemons.”  So she then asked for a lemonade craft.  Now I can work with that.  My brain got to thinking and here’s what we came up with.

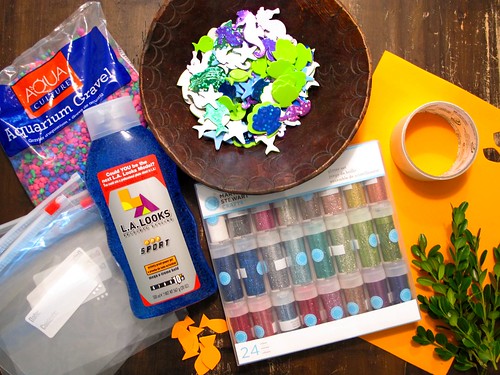
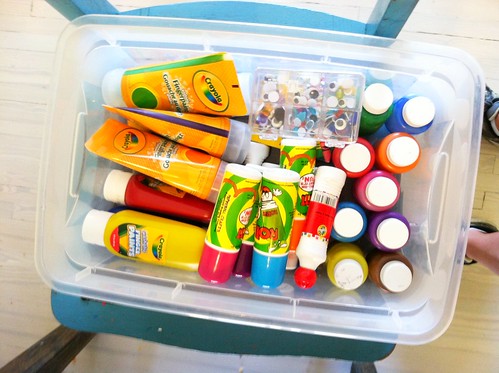
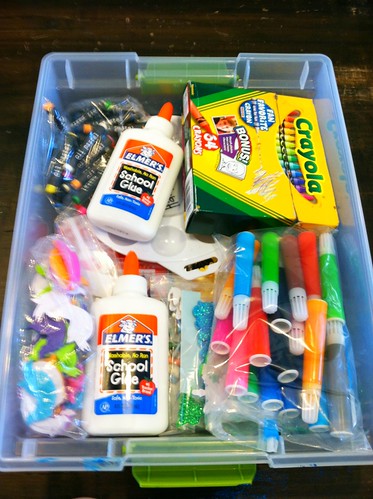
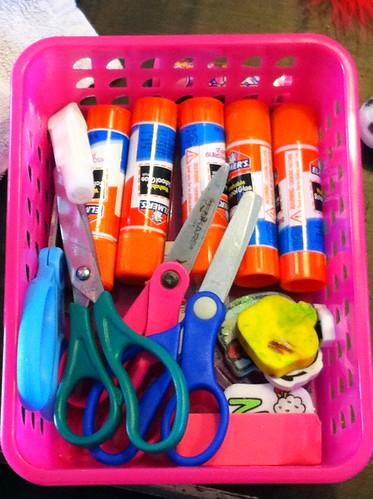
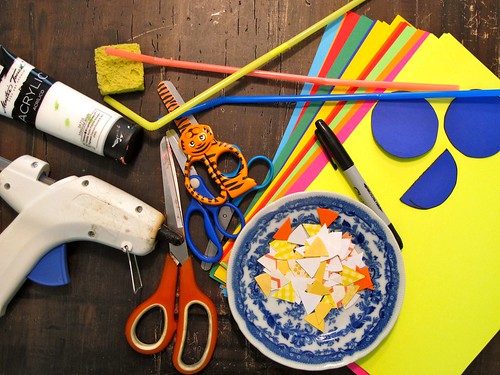
Here are the supplies you will need: paper (we used 8 1/2 x 11 sized sheets), square shaped sponge, white paint, glue gun, tall straws (I just stuck two regular sized straws together to make the larger straw), scissors, glue, tiny paper triangles and lemon slice tracers (the dark blue circles & half circle).

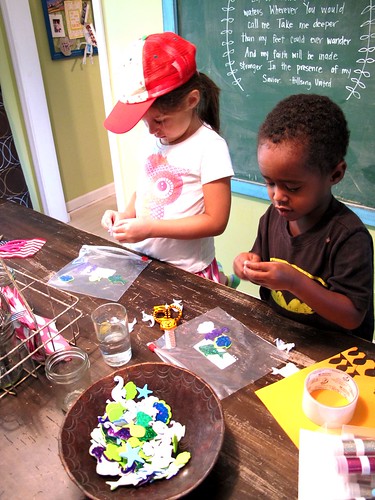
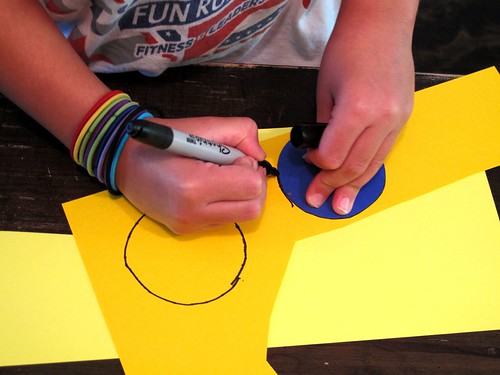
I did a little prep by doing an example first so the wee Kelleys could see what the craft would resemble as they were working.  I also made tracers for the lemon slices so they could trace their own.

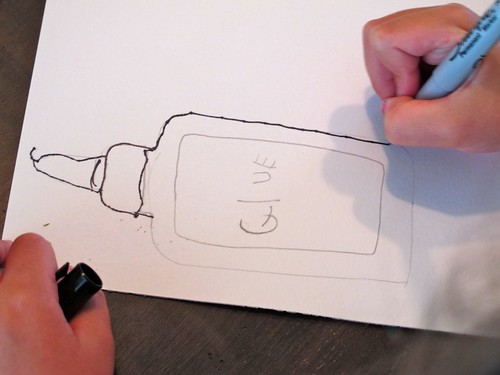
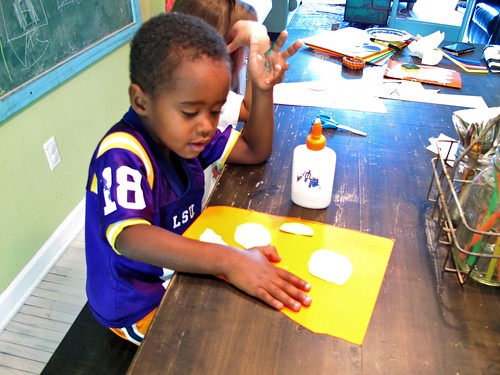
Okay, so Step 1:  Cut out their glass.  I went ahead and just traced my example one and let them cut it out.

Step 2:  Each kiddo decided how many lemons they wanted in their lemonade, traced them onto yellow paper, cut them out and glued them to their glass.

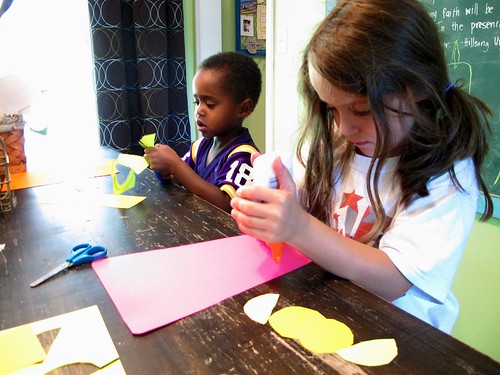
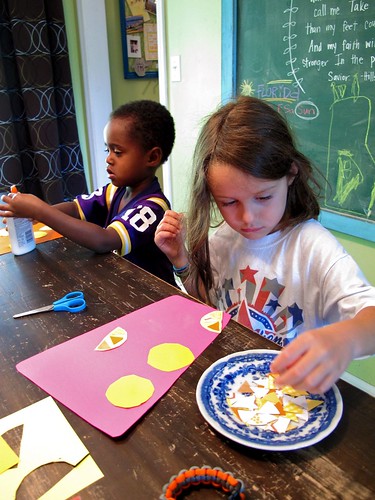
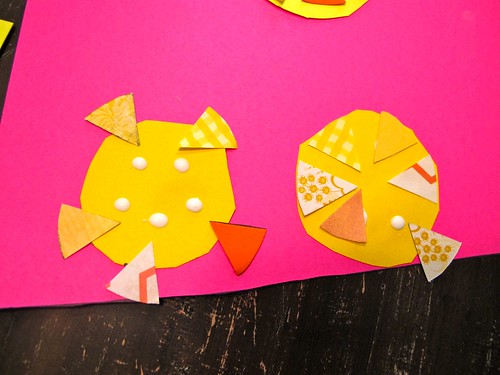
Step 3:  Next they glued the little triangles to the inside of their lemons.  I pre-cut a bunch of tiny triangles from different patterned papers and let them go to town glueing.  Harper had a system.

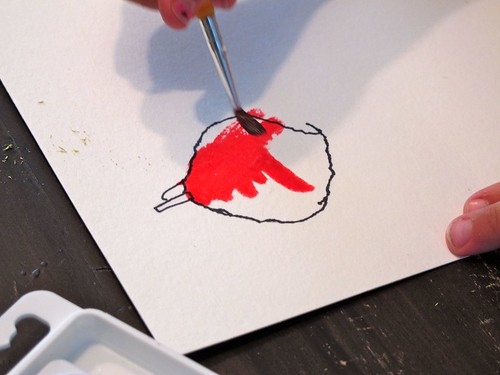
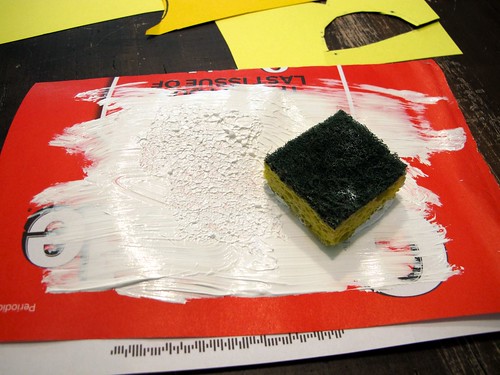
Step 4:  Ice cube time.  I just cut a square out of an old sponge I had and then they stamped away.  An old magazine cover folded in half held our paint…so profesh.

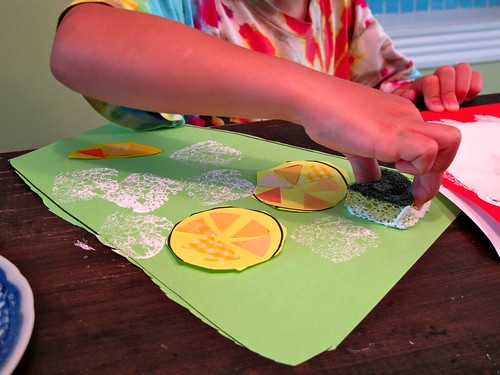
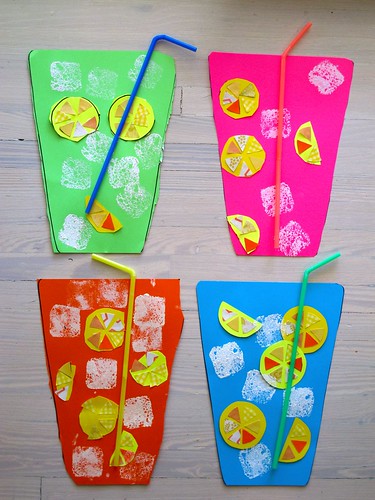
Step 5:  And lastly each kiddo laid out where they wanted their straw and I hot glued it in place.

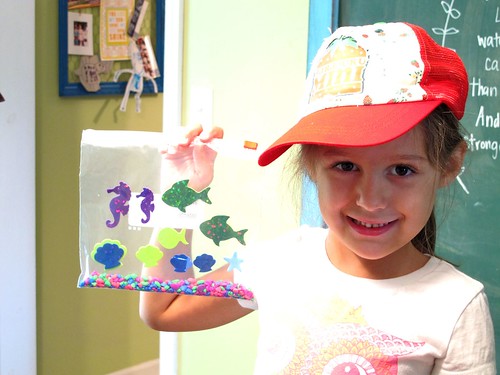
There you have it.  Paper lemonade.  When in doubt, just use paper.  Not as tasty, but just as cute.

Happy Thursday.

Craft Time {Aquarium In A Bag}

The wee Kelleys…aka really Harper…have been asking me for craft time like crazy.  We usually just do a little something I have all the supplies for on hand.  I decided to do some supply shopping the other day and remembered one of my most favorite crafts I did in my kindergarten class…the aquariums in a bag.  This is so much fun you guys…so much fun.  Ridiculously rad and my kids loved it.

Here’s what you need:  Plastic bags (we used quart sized), packing tape, cheap blue hair gel, foam fish/sea stickers, foam sheet, aquarium rocks, “seaweed” clippings from plants or Easter grass and glitter.

Step 1:  Stick your foam stickers to the inside of your plastic bag.  I let the kids go wild.  Let them own their projects.  Let them create like their little minds want to.  This is sometimes hard for an OCD mom like me.

Those fish aren’t even straight.  I had to reign in my urge to fix them.  Oh geez.

Step 2:  Add your aquarium rocks.  I got this big bag for $1.98 at Walmart.  Super cheap and fun and colorful.

Step 3:  Add the amazingly stellar cheap blue hair gel…and lots of it.  When I taught they made it in more of an aqua color, but this blue worked too.  $1.94 at Walmart for way too much cheap blue hair gel.  Style your hair with the leftovers…no wait…don’t.

Step 4:  Zip the bag closed and squish the gel all around the bag and add more gel if needed.  I kind of like lots of gel.

Step 5:  Re-open your bag and add some glitter.  Close and re-squish.  Us Kelleys like glitter, except for Josh Kelley…he seriously loathes glitter…like glitter would be a level in hell for him.  I say, the more glitter the better.

Step 6:  Add your seaweed and any extra free floating foam fish.  When I taught I always used Easter grass for the seaweed, but Easter grass isn’t exactly out in stores right now, so I just clipped some pieces from a bush in our front yard.  Boom.  I also bought one sheet of orange foam and cut out a few extra fish that could be moved around in the bag instead of stuck in place.  The kids like to move these fish around when the project is all done.

  Step 7:  After everyone gets their aquarium all situated like they want it, tape the bag shut with some packing tape.  You don’t want this jazz getting out.

And there you have it…aquariums in a bag.  I kind of feel resourceful when I break out my old tricks from my teaching days.  Makes me feel creative and useful and like that time was not lost.  So go get crafty with your kids today.  Let them go wild and make a mess…it can always be cleaned up.  I’ll try to post more of our craft projects over the next few weeks.

Happy Wednesday.

Storing Art Supplies + Giveaway

I know you all have just been on the edge of your seats for today’s post.  I’m sure some of you even set your alarms to get up super early and read about how we store our art supplies.  It’s a pretty hot topic.

Let me start off with yes, I do let my kids draw and cut and color and glue and watercolor and stamp at any point in the day…no permission needed.  No, that may not work for your family.  This is just what works for us and I do realize I probably let my kids handle some supplies and tools a bit early…and I paid for it sometimes…like when Huddy cut Sol’s hair when they were like 18-months-old right when our social worker was arriving for a visit.  Ha!  But I have put major time into teaching the wee Kelleys how to respect their art supplies and how to handle and use them correctly…like not using scissors to give each other haircuts.  Art supplies required responsibility  So do what works for you and your kiddos.  Different strokes, for different folks.  Right on!

So here’s the method to our crazy crafty madness.  Essentially we have two main containers that hold most of our craft supplies.  The bigger one holds some supplies that the wee Kelleys have to ask permission to get out and use.  It has two layers of supplies…yes, I am crazy when it comes to organizing.  It’s not healthy, but all of these items have to fit into this one container.  In the bottom is paint (acrylics & fingers paints…does not include watercolors), dot painters & rollers and embellishments.

The next layer consists of pipe cleaners, beads, string, glitter, confetti and pom poms.  I mainly take most items out of their original packaging and relocate them to zip-lock bags and beads and embellishments are stored in bead boxes with all the little fun compartments.

Pretty sure the first container stresses Josh Kelley out.

Kelley Family Fun Fact #88:  Josh Kelley hates and I mean H.A.T.E.S glitter.  How did we ever get together?!?!

The other container is smaller and shallow and hold supplies they can get out any time they would like…pastels, school glue, giant box of Crayolas, stickers and mini markers.

These both fit nicely on one of Harper’s low shelves in her closet.

We also have this killer piece of furniture that holds dvds, cds, camera gear and our tv sits on top.  My mom found it at a used furniture store for cheap…it was ugly…I painted it and voila…teal organizing loveliness.

The top middle drawer is the wee Kelleys…easily accessible for them.  It holds stamp sets, paper, notebooks and watercolors.

And lastly I use jars.  Lots and lots of jars.  The jars hold pencils, colored pencils, fat markers, skinny markers, twist up crayons, paintbrushes, regular crayons and Sharpies.

Then I use one small basket to hold the fat markers, skinny markers, regular crayons, paint brushes and colored pencil jars.  This basket is kept in the teal piece so the boys or Harper can get to it and any time.  All they have to do is pull the one basket out and put it on the table.

Harper’s room is downstairs right beside the kitchen/living room and dining room so the other jars of Sharpies, twistable crayons and pencils are kept in her room on their little table.  Along with a tape dispenser, a small basket that holds glues sticks, scissors and erasers and another girly bucket that hold’s different fun pens that have been specifically given to Harper at some point…like birthday, Christmas, etc or she bought them with her own money.

The boys are allowed to use their table in Harper’s room or go in and bring out any of the jars whenever they would like.  I also make them help with going through supplies…like testing markers and tossing all the ones that do not work anymore.  This is our test sheet.

And I do make them clean up after themselves…being an artist takes some responsibility…even on super crafty days when things get a little out of hand.  When they put up a fight, which sometimes they totally do…they’re kids, I just make it clear that if we can’t be responsible and clean up after ourselves, then we won’t be able to use our art supplies.  Usually that gets them going.  I tell them all the time, “I say what I mean and I mean what I say”, so art privileges have been revoked before.  Boom.

Hope this helps a bit…hope you feel empowered to let your wee ones get crafty…don’t be scared…you can do it.  Just find what works for your family and go for it…you may have a budding artist at your fingertips.

Happy Crafting!

PS:  I am a guest giveaway over at Dreaming Big Dreams today.  Up for grabs is one of my 4×12 “Where you invest your love” canvas.  Head over and enter to win.

His Eye Is On The Sparrow

This morning I am thinking about how precious we are to God and missing my mom.  One thing she reminded me of often was how valuable I was in the eyes of the Lord.  I am His!  Today I was reminded of one of her most favorite verses:

Matthew 10:29-31  “Are not two sparrows sold for a penny? Yet not one of them will fall to the ground outside your Father’s care.  30 And even the very hairs of your head are all numbered. 31 So don’t be afraid; you are worth more than many sparrows.”

I hope some of you needed this reminder like I did today.  And thank you for your continued prayers for Amon.  Turns out he has an infection now, so looks like we are going to be here a few more days.  He is truly an incredible kid.

And Happy Birthday to my brother Chris.  Pretty sure he doesn’t read my blog, but wanted to throw a shout out just in case.  Love you Chris!

Now how about a Halloween re-post in honor of the 1st day of October.  This is a project Harper and I did last October.  Hope you will enjoy.  Original post here.

*********************************************************************

I recently saw a cute little Halloween paper bunting on Pinterest.

If you haven’t ventured out and joined Pinterest yet…I totally recommend that you do.  It is amazing and a great waste of time.

If you need an invite, just let me know.

You can check out all my boards HERE.

The original of this adorable Halloween bunting belongs to Organize & Decorate Everything.  I loved the idea, the fact that it was all out of paper and that it was easy and quick…no special trip to Hobby Lobby.

So Harper and I took another bit of time to make some paper bunting for our family to enjoy.  The boys were done crafting, so this was mainly Harper’s doing, with my assistance.  Needless to say, when we were done, she was thrilled with her handy work.

Everything was made out of paper and then we just used a piece of ribbon and some small clips to hang each flag up.

Harper had a lot of her own ideas for each little flag, so we added our own Kelley touches here and there.

And when all Halloween crafting was said and done, there was nothing better I could have done with my time this morning.  And I felt better, like I had really actually accomplished something…finally.  And the kids and I were all in great moods and ready to tackle the rest of the day.  So maybe my one little coping skill really does work.

**************************************************************************

Happy Monday!

Congestion, Meds & Crafts {Advice}

So this is our go-to plan for getting rid of Amon’s congestion.  I’m like a decongestion nazi around here…honestly, I’m a bit on the crazy side trying to get rid of it.  If you have any recommendations I would love to hear them.  And keep in mind Amon is just 5-months-old.

And I so wish I could sleep like this.  Just out.  Out like a light.  A heavy, deep sleep.

Boys drinking from tea cups are so cute.  They seem like little men hanging at the Cracker Barrel together for an early bird’s breakfast.  I love them!

Amon has been having major fun in his jumpin’ johnny thing.  What is not fun is giving him his meds.  He HATES them.  I always had luck with the other 3 wee Kelleys when they were little by just blowing in their face when I gave them medicine.  They always swallowed it right down with one little blow.  But Amon…well, Amon is a different story.  Any one out there have any tricks for getting babies to take medicine?  I would so appreciate them.

I have been thinking about ways to pass the time in the hospital.  Do you have any recommendations for some good crafts?  I’m debating on seriously taking my canvases and all my supplies and just setting up shop in Amon’s hospital room because I’m totally not leaving 🙂  But if that doesn’t pan out…seems like a lot to tote to a hospital…I’m looking for smaller crafts that require less materials.  So I would love some recommendations if you have any.  I’ll have lots of time on my hands.

So any advice on how to get rid of baby congestion, how to get babies to take their medicine or recommendations on crafts I can do at the hospital would be awesomely appreciated.  Leave a comment or shoot me a message…I would be so grateful.

Oh and our Hopeful Heart Giveaway ends tonight at midnight and I will post the winner tomorrow.  Up for grabs is this 11×14 Hold Onto Hope canvas and a stellar tee.  CLICK HERE to enter.

Hope you have a great weekend & happy Friday!

Fabric Swords

I’ve had this fabric sword tutorial by Simply Homemade pinned on my Kiddos Pinterest board for forever.  A few weeks ago we were just having one of those days…you know, a day when everyone just needed a little pick-me-up.  I remembered this little tutorial and the kids and I set to work.

You can see the full tutorial HERE.

I loved this tutorial and it was super simple to follow.  I did stray just a bit, but it was purely to save myself time.

After I cut out the 6 sword shapes (2 pieces per sword) from the heavy weight interfacing…

I then ironed each piece directly onto the fabric of each wee Kelleys choice.  I just didn’t want to trace and cut again and then iron on, so I just ironed the interfacing directly to the fabric…I need to save time any way possible 🙂

Then I cut the swords out.

Once all 6 sword pieces were ironed and cut out…

I added their initials to one side and then sewed the 2 pieces together.

Needless to say, this was the perfect pick-me-up for our day.  There has been an endless supply of sword fighting ever since.

Check out the full tutorial HERE…I just included the information for the short cut I took in making them.  Time is of the essence around the Kelley house 🙂

Now go make some swords.  Happy Tuesday!

PS: Giveaway tomorrow!  Yippeee!

Back-To-School + Banner

Today is Harper’s first day of school.  I cannot believe I have a kindergartener.  She was so excited & honestly, I was too…but with some tears attached.  I’m a bit weepy today anyways…9 months since Mom died, school starting, a big doctor’s appointment for Amon and a few other big life kind of things going on.  Just one of those “heavy-on-the-heart” kind of days.  But I decided yesterday, that today I was going to be brave.  And Harper was just so excited, so I wanted to be excited right along with her.  It was full on game face in the classroom, but once I stepped out into the hallway I let myself have my cry 🙂

But it’s going to be a great year.  I just know it.  We love her teacher already and Harper is really beyond thrilled to finally start school.  And of course we took Ms. Bruno an apple on the first day.

Since the boys started school last week, Harper, Amon and I had 2 days last week when it was just us.  Harper always wants to do crafty things and with the boys away, I knew just what we would make.  With school finally starting, we decided to make a Back-To-School banner.

Super easy and super fun.

Here is what you will need:  Watercolor paper, watercolors, pencil, fine tip Sharpie or pen and scissors.

To start we brainstormed about things that remind of us school…pencils, crayons, backpacks, lunchboxes, rulers, markers, apples, books, letters, numbers, glue etc.  Then we set to work.

First, we drew our pictures in pencil and next we traced them with a fine tip Sharpie or pen…either works.

Then our favorite part, we painted each drawing with our watercolors.

Once they were dry, we cut the pictures out.

From here, I simply ran all of our drawings under my sewing machine to make the banner.

You could easily glue them to ribbon or use mini clothes pins & twine…there are lots of different ways to finish this project out.  Whatever you choose, it will be fantastic.

My personal favorite was Harper’s Mo. 2 pencil 🙂

And now we’re ready for school.  Can’t believe this day is here.  It’s a bit hard on this Momma’s heart, but it will be such a good, good year.  Happy Monday!

Expedited & Book Cookies

Well I had this little post about some cookies I decorated with some of our favorite book characters…kind of lame, but it was a Friday post and I do like cookies 🙂  Then I woke up in the middle of the night…3:30amish…couldn’t go back to sleep…felt like God was spurring my heart, so I got up and went to check email.  And there it sat.  An email all the way from Addis with a subject line that read: Cleared Case.

(The sleeping grin at its best.)

And that is what I would like to call “expedited.”  Amon’s case was submitted for embassy last Wednesday, but we got word that it was officially submitted, like it finally got in the right hands on Monday.  5 days…that is definitely what I want to praise God for.  Expedited indeed.  I’m just floored and why should I be?  God is so so good.  So we get our embassy appointment confirmed Monday and I’m flying out next week.  I can’t believe it’s finally here.  I’m actually leaving and coming back with my son.  I’m buying plane tickets and actually getting on a plane.

I laid in bed and just thought about how I would love to pick up the phone and wake my Mom up to tell her the news.  I called way too late to chat, way too many time.  I liked her sleepy voice…her startled voice, “Laura, what, is everything okay, what’s wrong?  Oh, you just need to know how to boil water?  Okay.” 🙂  I always had ridiculous cooking questions for her.  She would have been Over.The.Moon…to say the least.  Everyday is a battle over the sadness…every single day.  Grief still hangs around, at least for me, for a long time.  So today is seriously one of the best Friday’s ever…one of the best days ever…and also a really hard one.  She would have been so smitten with Amon and it overwhelms my heart thinking about all the prayers she prayed for our sweet boy…even though she never had the honor of seeing his face.  But she was that type of woman…that type of mother…that type of Grammy.  A woman I most definitely want to be like.  So here’s to a crazy awesome Mom and a son who has rocked our world in the best way ever.  This is a Friday to remember.

{Post intended for today.}

Since I was making cookies yesterday and had some leftover dough, I decided to make a few with some of our favorite book characters.  We are crazy book people.  I, myself, do not read a ton…I wish I did.  I’m working on it.  Kids books on the other hand…The wee Kelleys, they are a whole new ball game.  We read every single day and lots of books.  We have way too many favorites, but some that are always in heavy rotation are as follows:

Don’t Let the Pigeon Drive the Bus by Mo Willems.  Every pigeon book actually.  Every Mo Willems’ book actually…they are all amazing.

Olivia by Ian Falconer.  Again…all Olivia books are off the hook.

A Color Of His Own by Leo Lionni.  Again…Leo Lionni…incredible.  Pictures are crazy good.

Not A Box by Antoinette Portis.  Way cute.

And Where Is The Green Sheep? by Mem Fox.  LOVE, LOVE, LOVE Mem Fox.

So I picked some of my favorite pictures from the book and set to work.  These will probably not see the end of the day.  They will be all eaten.  The wee Kelleys cannot wait to help devour them.  It’s probably going to be a good day.

What are some of your kids most favorite books?  There are great ones out there.

Have a great weekend.  Happy Friday!